
Subscribe to our RSS here.
Intro to Visual Testing with Percy & Ember

Note: This post’s content is part of my presentation on the Automation Guild 2020 talk named “Grow Your Automation Toolkit: Because when all you have is a hammer…“.
Our example
We were hired by the Ember development team to implement some changes on the guideline application Super Rentals, a toy-project used to learn the basics of Ember.
Super Rentals allows us to inspect different properties we may want to rent.

On the Home page you can find a button that take us to the About page:

And on the About page we have a button to go back to the Home page:

We will focus our attention on these two buttons.
Tests
Although simple, the behavior of these buttons are better validated by automated checks. Particurally, we will use Ember’s Application Tests, where we boot up the whole Ember application (only frontend, including routes and all components) and perform the actions we want. For more details, check out our post on Ember Testing.
The behavior of these buttons can be exercised like this:
test('should link to information about the company',
  async function(assert) {
  await visit('/rentals');
  await click(".button-to-about");
  assert.equal(
      currentURL(), '/about',
      'should navigate to about');
});

test('should link to home page',
  async function(assert) {
  await visit('/about');
  await click(".button-to-home");
  assert.equal(
    currentURL(), '/rentals',
    'should navigate to home');
});
Each test function will validate a button. They access directly the page where the button is, click on this button, and then verify if the application went to the expected page, by checking the URL.
Now let’s start our work on the app.
“Do this simple color change”
The Ember team asked us to change the color of the About button text color to red, to highlight its presence.
Does it make sense? I don’t know, you tell me ;)

Implementing the change
To implement the new color, we can make a CSS change on the app.css.
.button {
  color: red;
}
It will change the default color of buttons to red.
You take a look at the button on About page and it seems ok.

You run all your tests and they pass.
Good to go to production!

The bug
A couple of days later, you get an email from the Ember team.
“Well well… they probably want another super change made with such elegant code.”
Attached to the email is the following image:

Yes, you have introduced a bug in the system.


You may want to blame your automated checks for these error, but they did exactly want they were programmed to do: Validate the page navigation upon button clicking.
The bug we saw is out-of-scope for them.
The rest of this post will teach us how to expand your tests for cover also this type of change.
Visual Testing
Why did the checks pass? Because they are focused on functionallity, on behavior.
“When something happens, verify something is like this”.
“When the Home Page button is clicked, the application goes to the Home page”.
The bug above is visual issue: The final rendering of the button displayed the text in red, when it shouldn’t.
If we try to put into words the process our brains pass to investigate visual problems, we could say the following:
1 - Create a model of the expected visuals. Our brain will hold many snapshots of the application areas. The model of the visual is the baseline which we will compare against the final rendenring on the application;
2 - Collect on the application snapshots of the areas equivalent to the ones we have on the baselline;
3 - Compare (mental oracle) the difference between our model and the real applications.
Our mental oracle will raise issues that it consider relevant. To know more about testing oracles, checkout James Bach’s post on Blink Testing.
We can mimic this process somehow on a computer.
The part (1) can be done from an application state known to be ok. Below we will consider the master branch to be the source of truth, but this definition is somehow arbitrary and can be contextually defined.
(2) can be done during our functional checks. In them, we walk through the application final rendenring in many states. If we take screenshots of these states, we will have the input to (3).
(3) is the most tricky part. To mimic a mental oracle, specially for visual analysis, is basically impossible, due to the complexity of the human brain, implicit knowledge, etc. However, image diff tools are well developed and can detect differences at the pixel level, which is quite difficult for a person. Therefore, a good strategy for automated visual checking is to use the power of the computer to blindly find pixel level differences, but to forward to a human the judgment of the difference itself, in the context of the expected variations.
Percy
Percy is a service for visual testing that implements the process described above.

Let’s see how it could have help us to avoid deploying that bug in production.
Percy & Ember
Installing
To install Percy in an Ember app is as simple as running:
ember install ember-percy
It, as any Ember addon, will download the library and update the package-lock.json for future use.
Extending our Application Tests
In our Application Tests, we have to import the Percy’s snapshot function
import { percySnapshot } from 'ember-percy'
and extend our tests to take screenshots in specific execution points:
test('should link to information about the company', async function(assert) {
    await visit('/rentals');
    await click(".button-to-about");
    assert.equal(currentURL(), '/about', 'should navigate to about');
    await percySnapshot("button to home about page", {scope: ".body"})
  });

  test('should link to home page', async function(assert) {
    await visit('/about');
    await click(".button-to-home");
    assert.equal(currentURL(), '/rentals', 'should navigate to home');
    await percySnapshot("button home page from about", {scope: ".body"})
  });
The percySnapshot function takes on the first argument the name / ID of the snapshot. It is used for comparision purporses. The image “button to home about page” from the source of truth build will be compared against the current “button to home about page” image. The second argument determines the DOM area of interest. For simplicity purpose body is enough, but when you add more snapshots in a bigger test suite, it’s good to focus on specific areas, in order to mitigate false negatives.
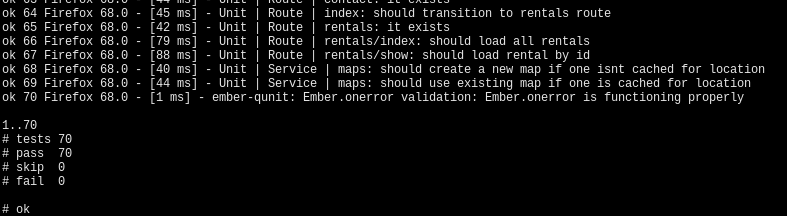
Now when you run ember test, you will see that Percy will run alongside the tests and create process your snapshots on the Percy servers.


Percy builds
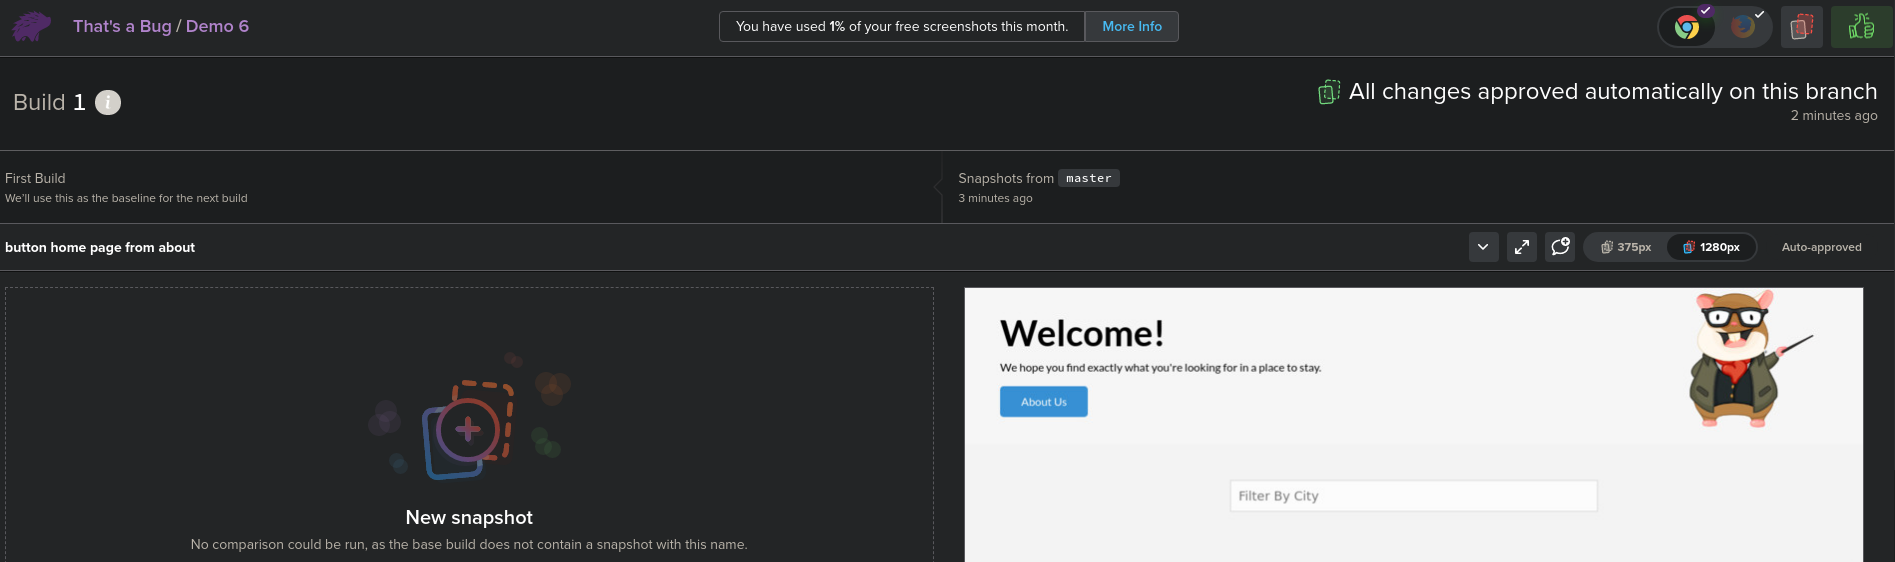
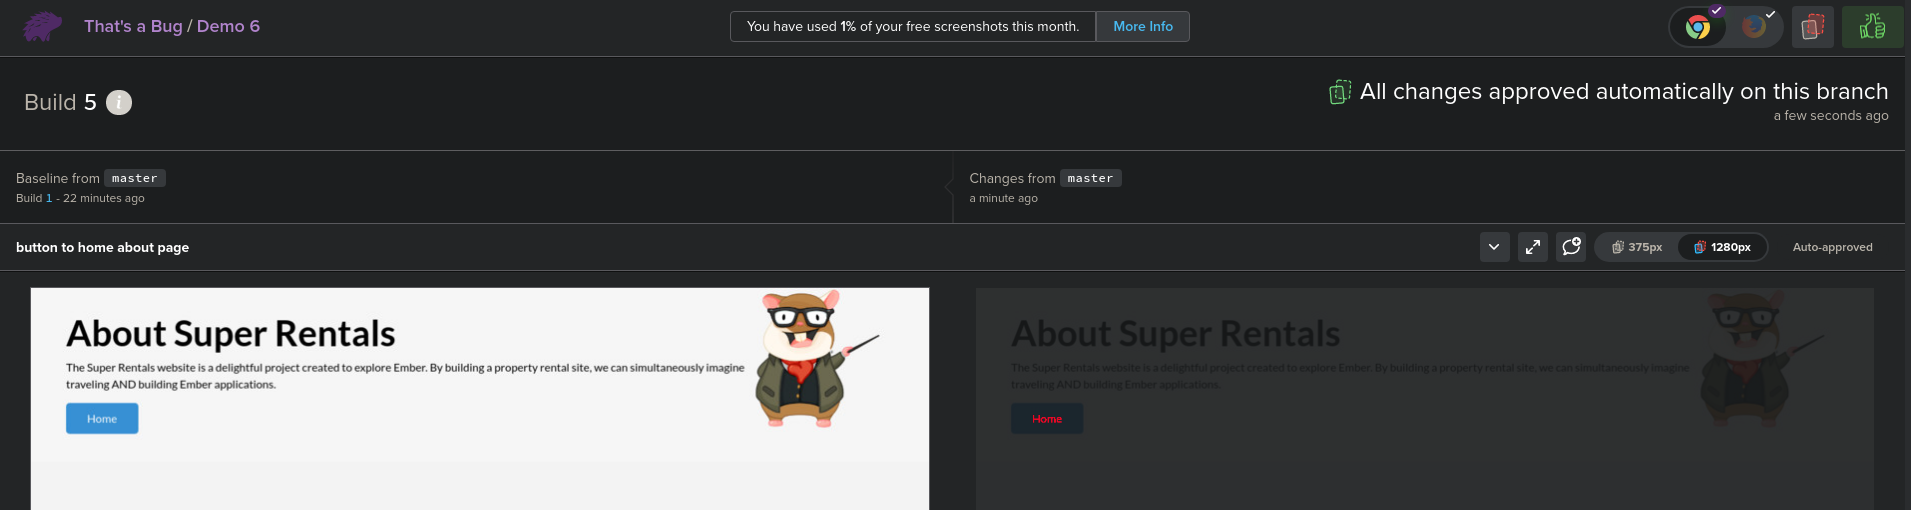
If we head to the Percy page, we will see that our build was automatically approved. This is because Percy by default auto-approves builds on the master branch. Of course, this is configurable.
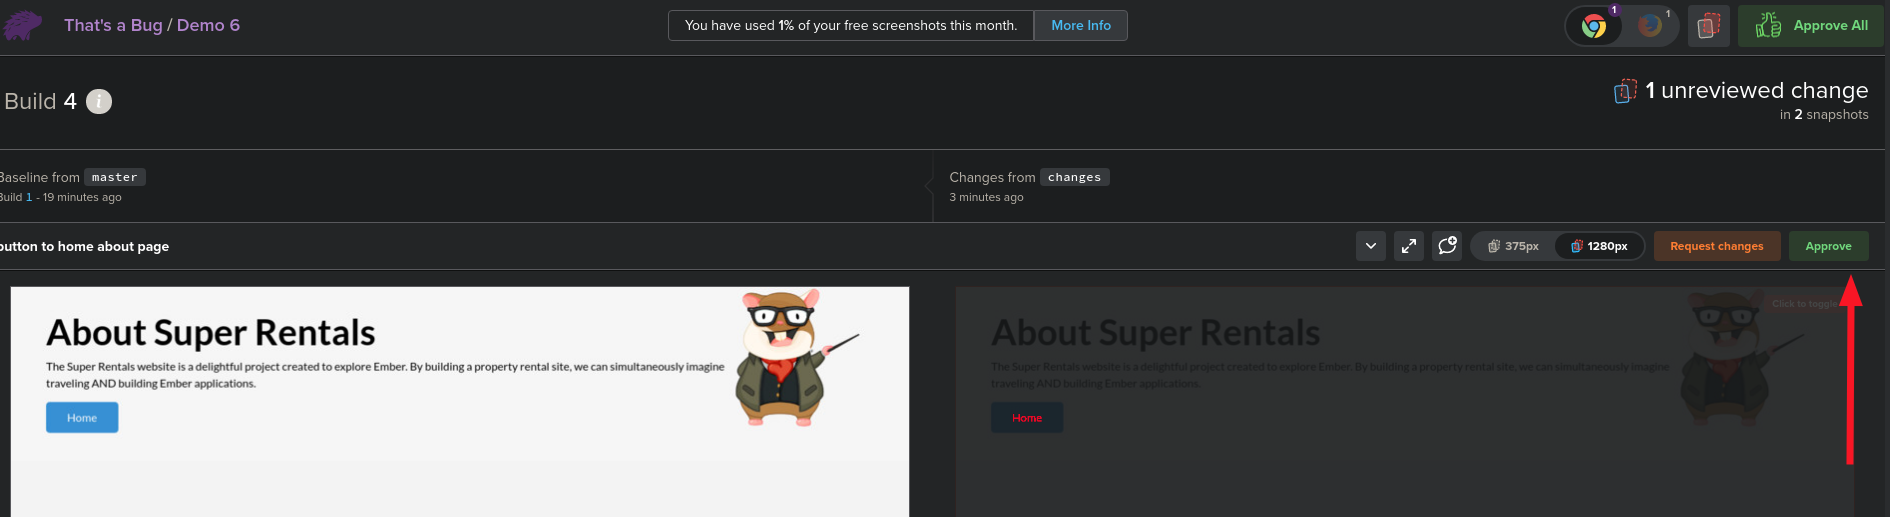
If change to a different branch and we re-apply the change that caused the bug, we will see that Percy warn us of two visual differences.
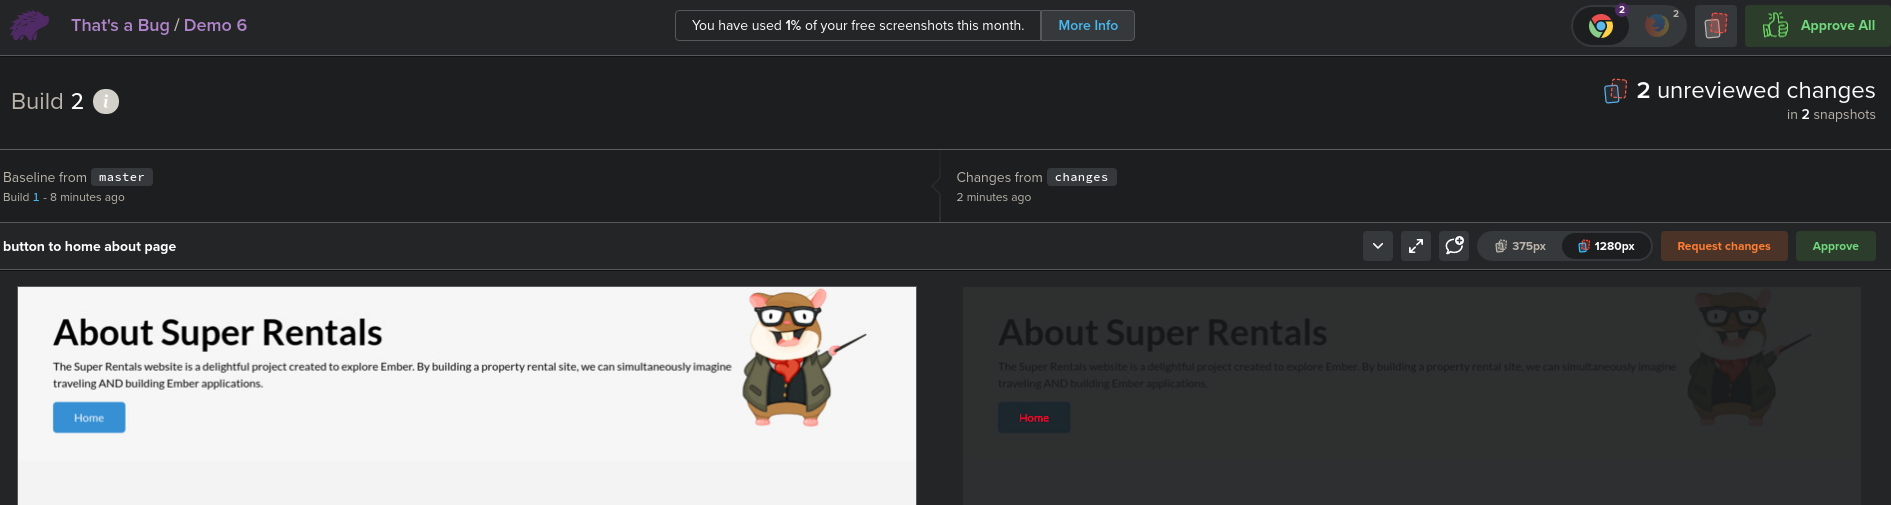
We can see that the first diff is something we expected. So we can approve it.
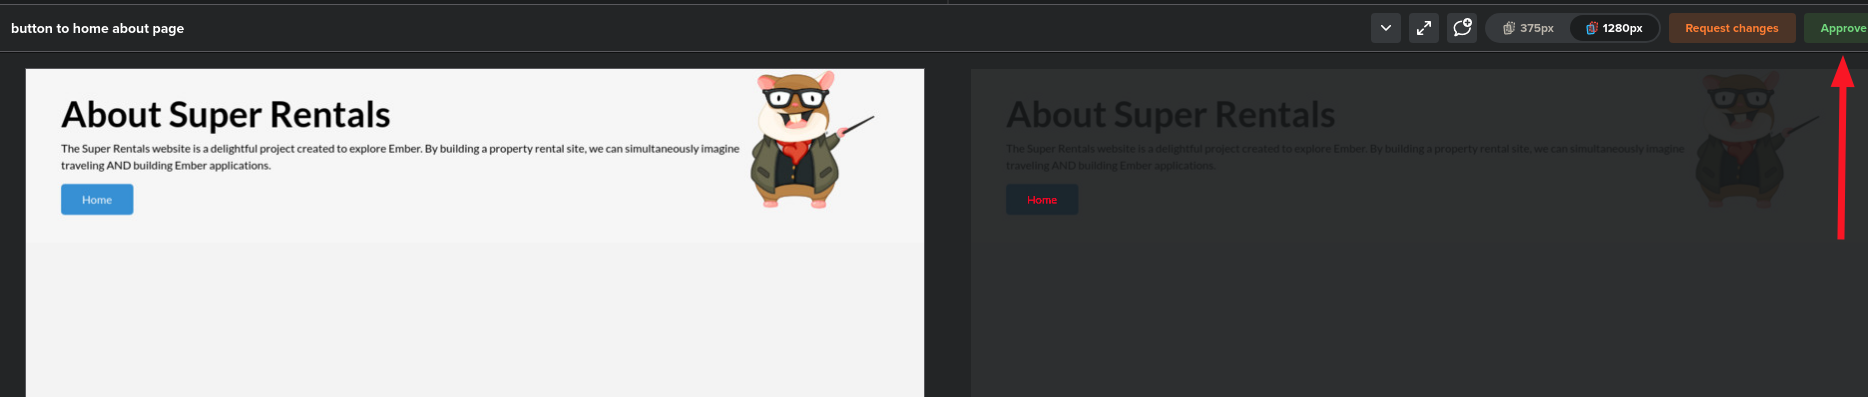
The second change is the bug! We will click on Request changes in order to mark this build as incomplete.

To fix the issue, we have to change the color of the specific button. For that, we just have to change the CSS class we are targeting:
.button-to-home {
  color: red;
}
If we run our tests again, we see that Percy will show only the expected change, which we can approve.
Now we can merge our changes to master and Percy will auto-approve the build.
TO PRODUCTION!
So, do you want to extend your functional tests capabilities with Visual Testing? ;) Tell me on the comments your thoughts.
Leave a comment